A password is something that can be taken without anyone coming near you. It gets guessed from leaked databases, harvested on a fake copy of the exchange, read off an infected computer. In every one of those stories the password ends up with a stranger and you do not know it — until the moment the balance is already gone.
A second factor breaks that chain. Knowing the password is no longer enough to get in: a one-time code is also required, one that lives for thirty seconds and comes from your phone. Setting it up takes five minutes and is done once.
The previous chapter ended at the verification screen. This is the first thing worth doing on a new account, before you fund it.
What you will need
- A phone with an authenticator app. Google Authenticator, Binance Authenticator, or any other — they all follow the same standard. Install it ahead of time, before the exchange shows you the QR code.
- Access to the email and phone attached to the account. The exchange will ask you to confirm both before it shows the key.
- A place to keep the backup key. Not "I will figure it out later" — decide before you start. Below is why this is the most important item on the list.
Why an app and not SMS
SMS looks simpler: nothing to install, the code arrives on its own. But a phone number has a property an app does not — it can be taken without ever touching your phone.
The trick is called a SIM swap: someone walks into a carrier's shop with your details, explains that the card was lost, and walks out with a new one on the same number. Yours stops working, and every code by SMS now goes to them. The details for that visit come from the same leaks the passwords do.
An authenticator app is not tied to the number at all. It computes the codes itself, from a key stored inside the phone, and works with no signal and no internet. That key cannot be taken remotely — it takes the device itself.
So the rest of this chapter uses the app. Binance offers SMS too, and as a fallback it beats nothing, but it should not be your main method.
Step 1. Open the Security section
Everything protective lives in one place: Account → Security. On a new account the section looks like this — two-factor is off, and the exchange says so itself.
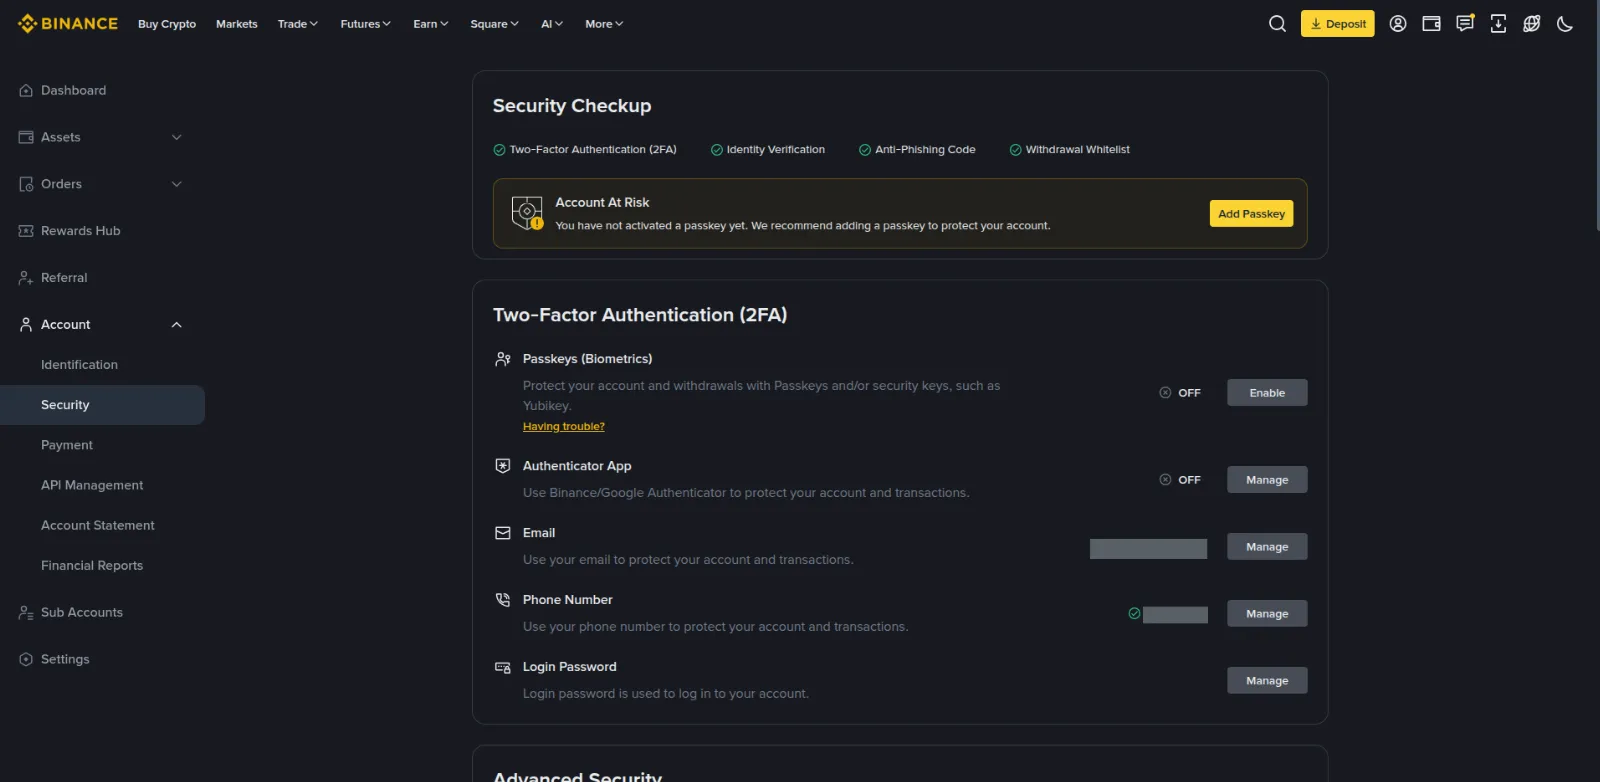
Note the top row, Security Checkup. That is the exchange's own checklist: it lists the ways to protect the account and shows which ones you have on. By the end of this guide every mark there should be in place; right now we are doing the first.
The line that matters is Authenticator App. Next to it: the state Off
and a Manage button.
Step 2. Start linking
The button opens a separate page with a short explanation and an offer to download the app if you do not have it yet.
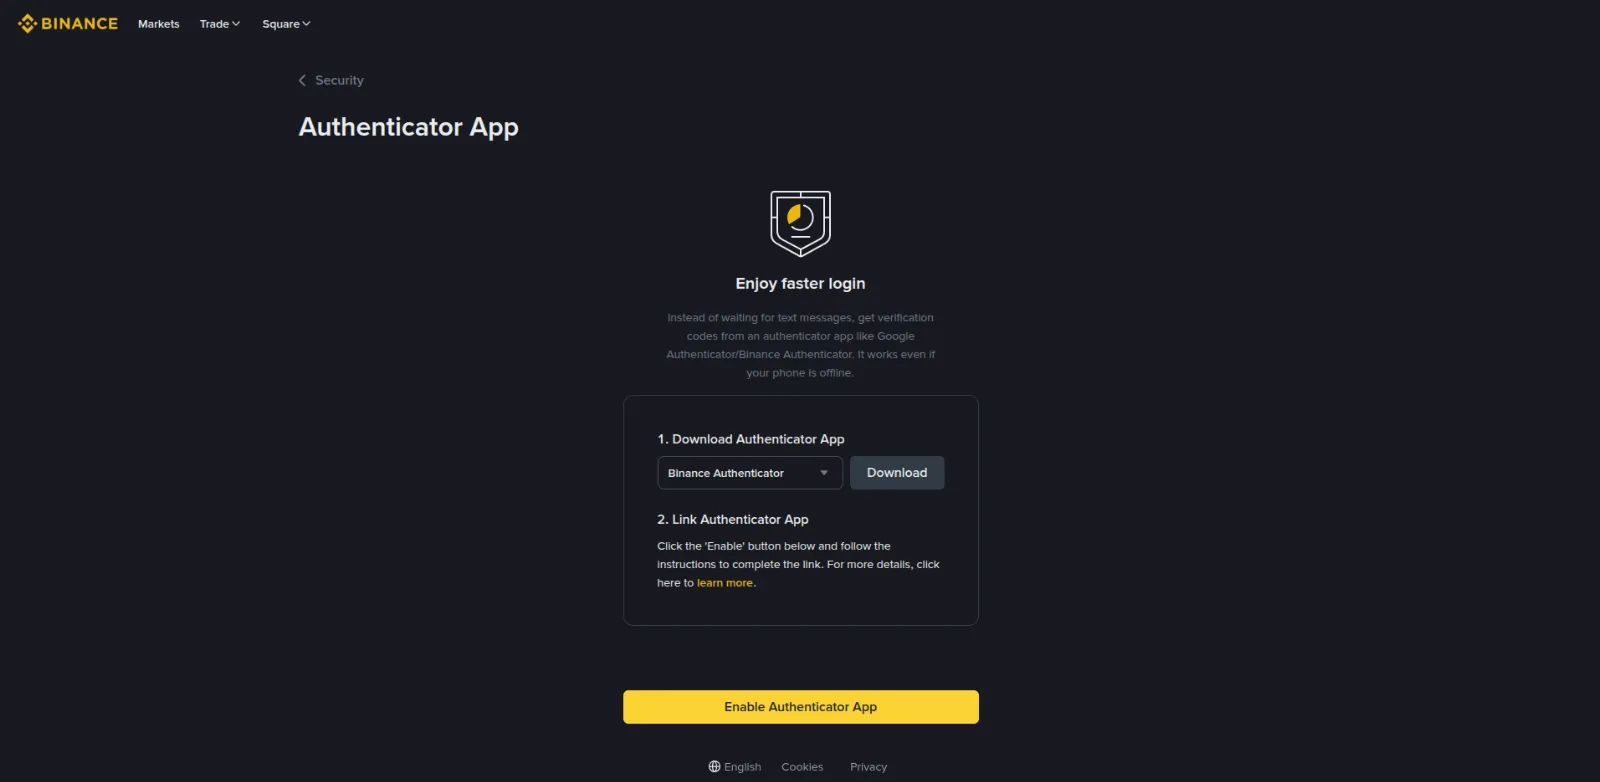
The dropdown at the top picks which app to download, not which protection method to use. Binance Authenticator is not required: any authenticator that follows the TOTP standard works equally well.
Once the app is installed, press Enable Authenticator App.
Step 3. Prove it is you
Before showing the key, the exchange makes sure the person at the screen owns the account. The logic is simple: if the key went to anyone who knew the password, a second factor would protect nothing.
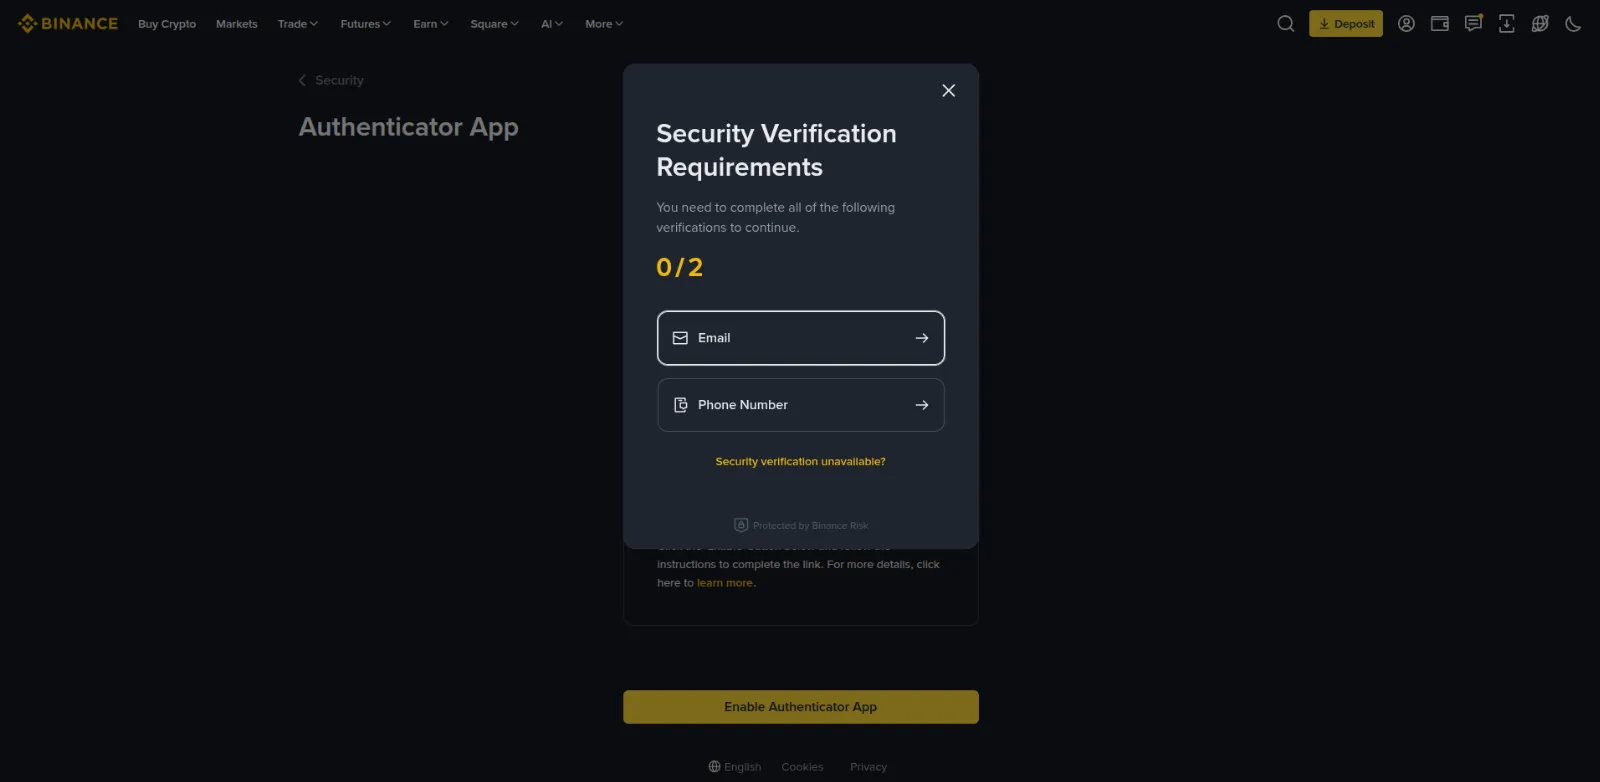
The phone comes first. The exchange asks where to send the code.
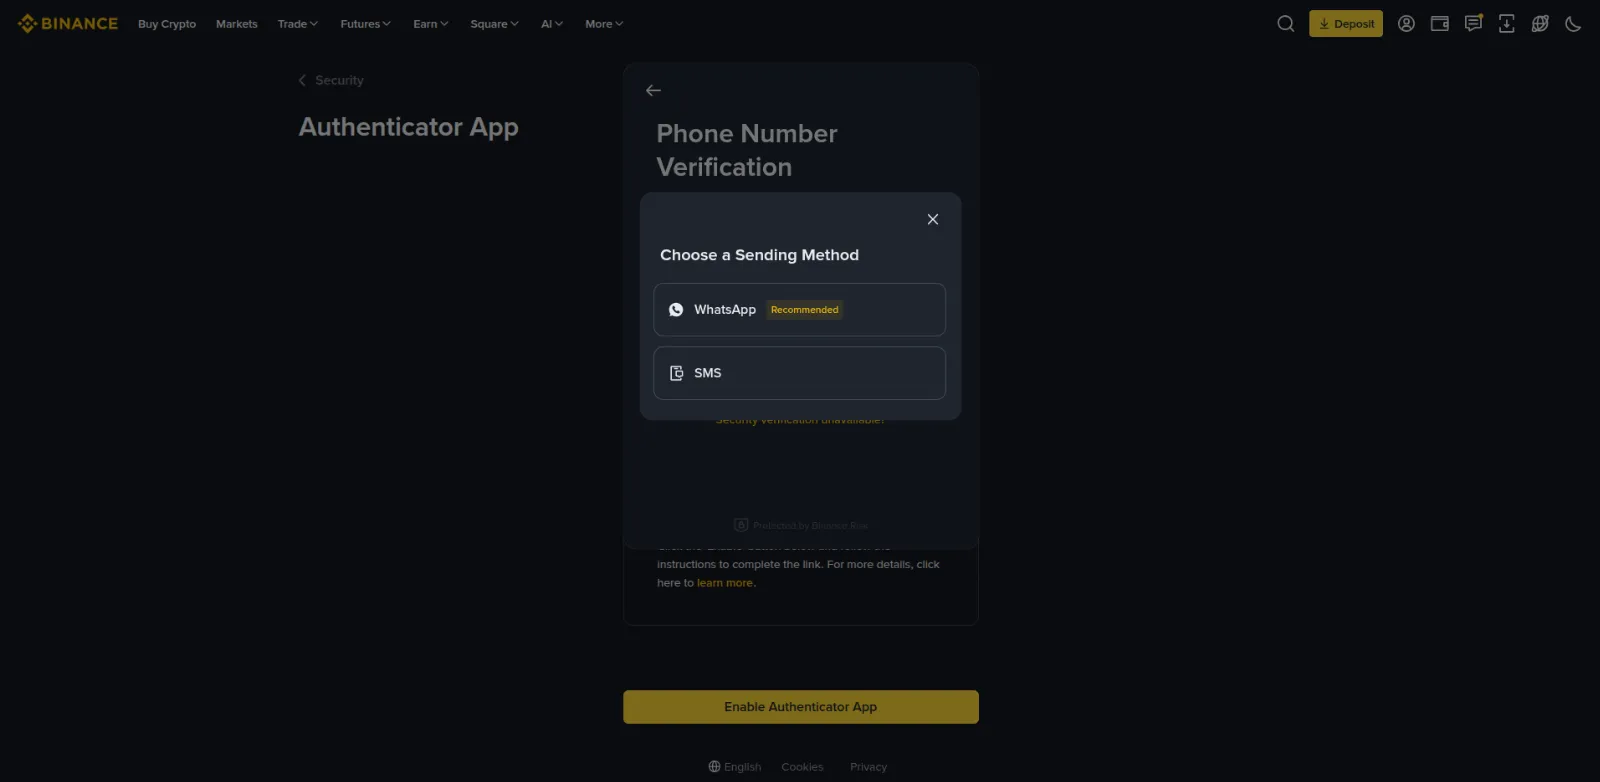
Then the email — the same six-digit code as during sign-up.
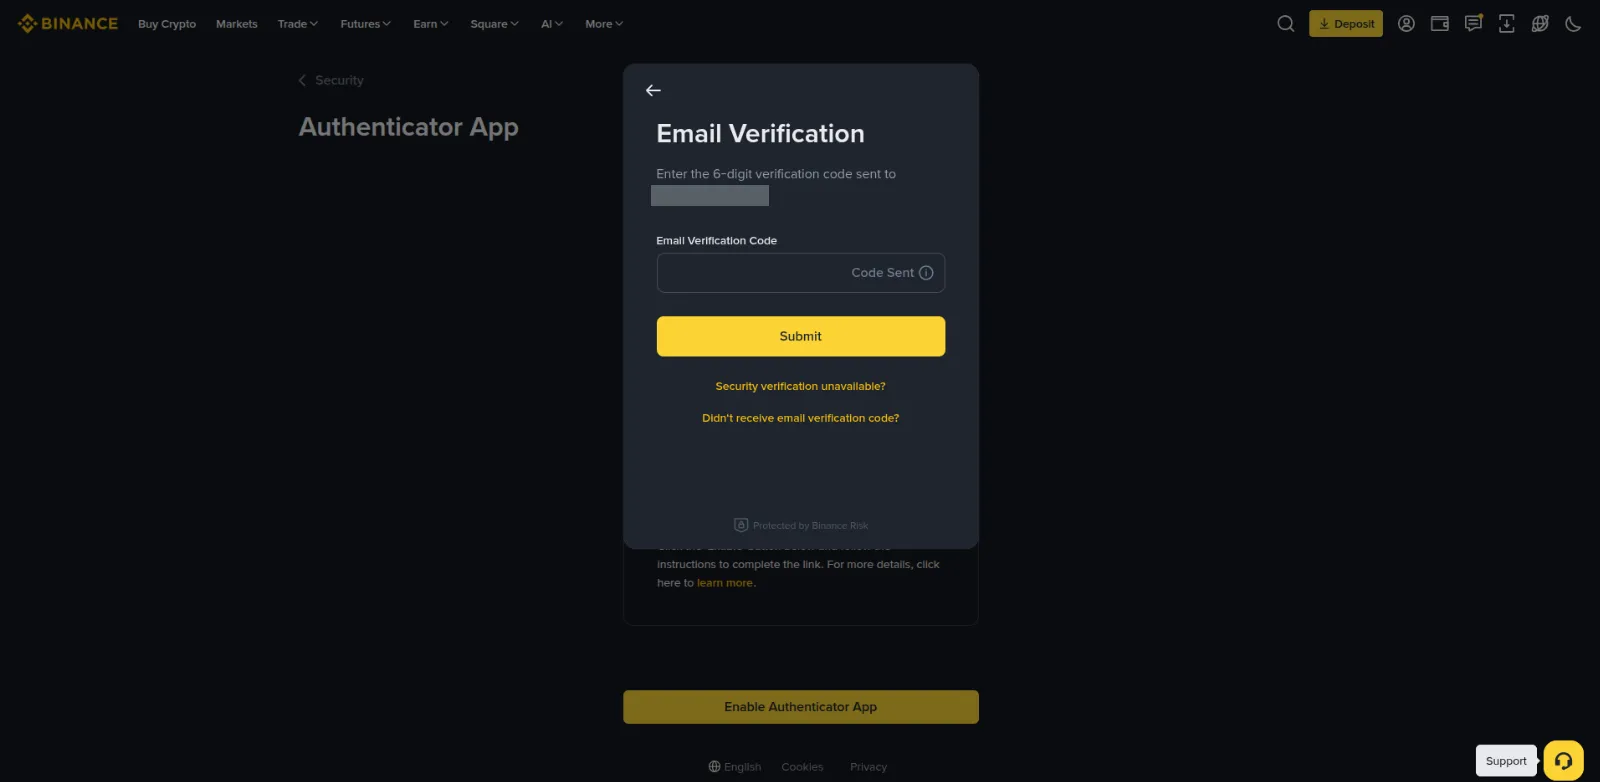
Both codes are single-use and short-lived. If you take too long, request a new one — re-entering the old number will not work.
Step 4. Link the app
Next the exchange shows a QR code and, underneath it, the same key as a string of letters and digits. They are one and the same thing written two ways: the QR for pointing a camera at, the string for typing by hand when the camera will not cooperate.
There is no screenshot of that screen in this guide, and that is not an oversight. The key on it is your second factor. Anyone who sees it can set up the same authenticator and generate the same codes you do. We cannot show you somebody else's key in a picture, and a blacked-out QR code is a white square that explains nothing.
Remember that property: the screen with the key must never be photographed, sent, or shown to anyone. Not to a support chat, not to a friend, not into a screenshot for a walkthrough — no one.
What to do on that screen:
- Open the authenticator app, choose to add an account, and point the camera at the QR code. A "Binance" entry appears with a six-digit number that changes every thirty seconds.
- Save the backup key — that string under the code. It is the only way to restore the second factor if anything happens to the phone.
- Press Next.
About the backup key — the most important part of this chapter
The backup key restores your second factor on a new phone. Lost the device, broke it, reset it to factory settings, switched to a new one and forgot to move the authenticator — in every one of those cases the key gets you back in a minute. Without it you go through support recovery instead: documents, waiting, and withdrawals frozen for several days.
Where to keep it:
| Good | Why |
|---|---|
| A password manager | Encrypted, synced, survives losing the phone |
| Paper in a drawer | Not connected to anything, cannot be stolen remotely |
| Not good | Why |
|---|---|
| A screenshot in the phone gallery | The gallery syncs to the cloud, and the key goes with it |
| Notes, a message to yourself, a cloud document | One break-in to the email and the key is out |
| The same phone the authenticator is on | Lose the phone and you lose the key and the app together |
A screenshot of the key in your gallery cancels the whole exercise. The point of a second factor is that the password and the key sit in different places and never fall into the same hands at once. A key in the cloud next to your email is one place again — you just spent five minutes creating it.
Step 5. Confirm with a code from the app
The exchange checks that the link worked: it asks for the six-digit number the app is showing right now.
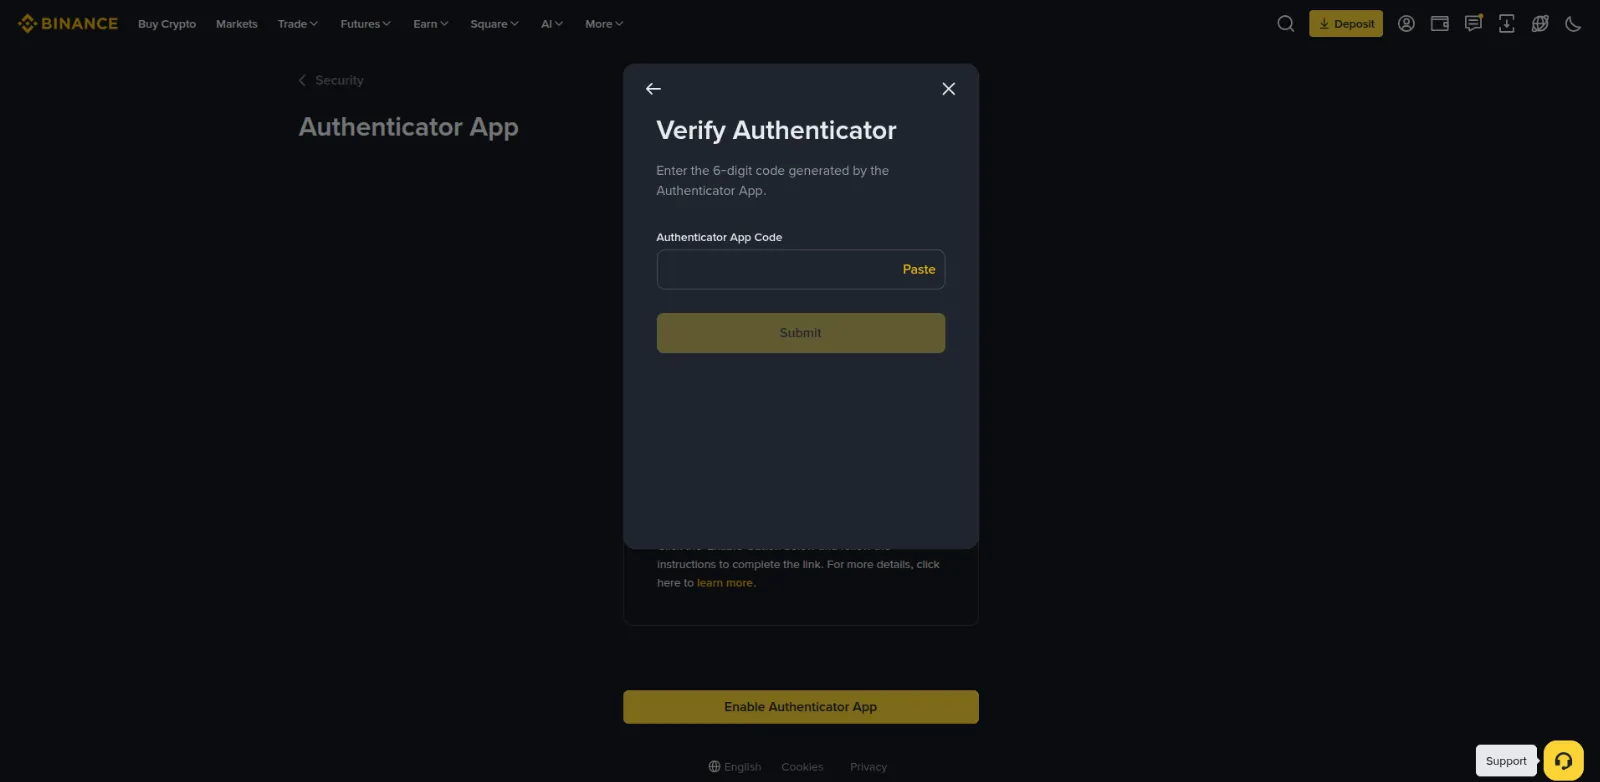
If a code is rejected and you are sure it is the right one, it is almost always the clock: the authenticator computes codes from the phone's time, and if that has drifted by a minute the numbers will not match. Turning on automatic time in the phone settings fixes it.
Step 6. Check that it took
After confirmation the authenticator appears in the list of linked ones with the date it was added.
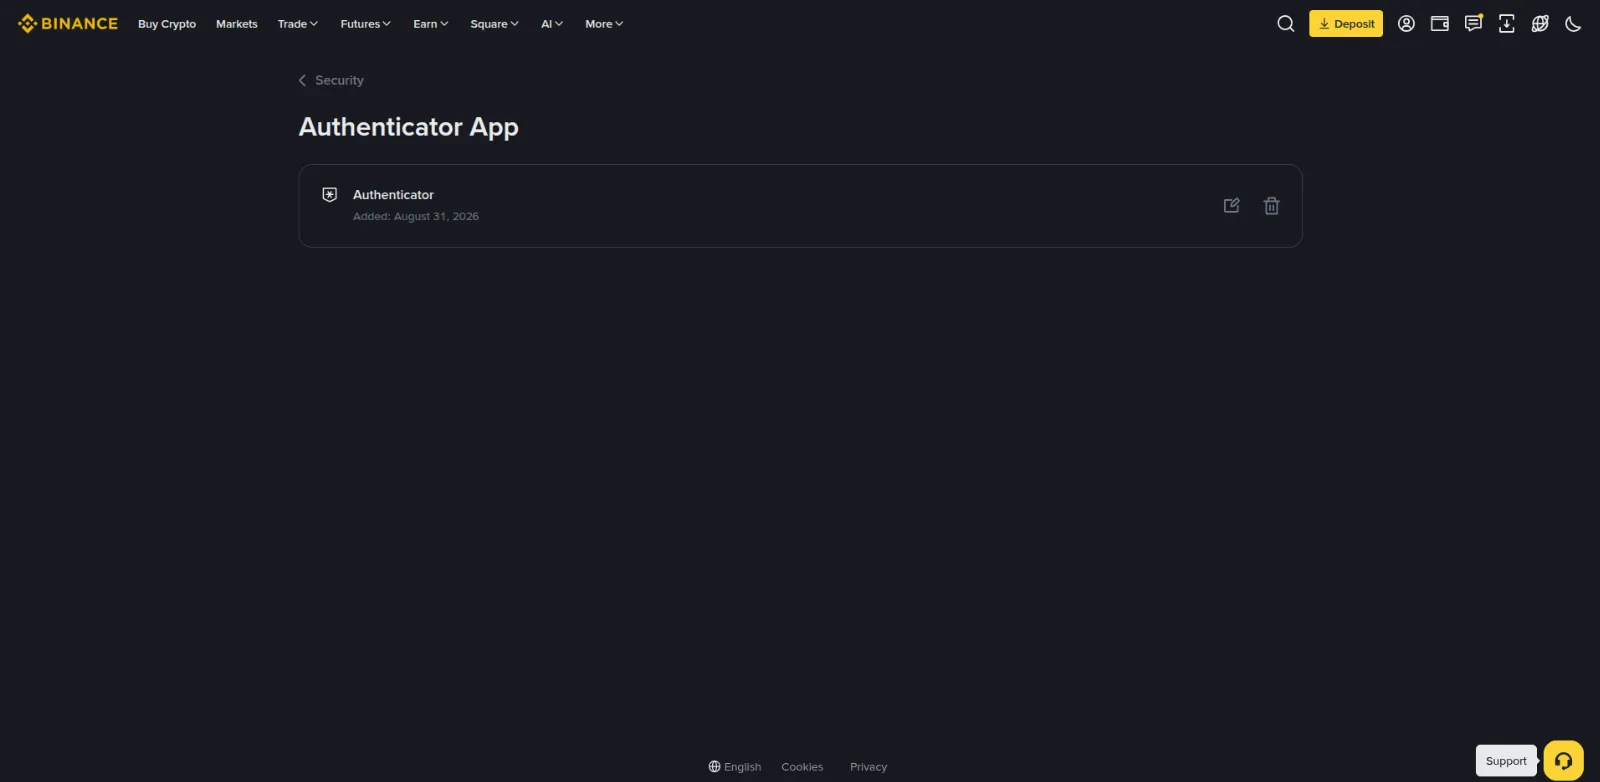
And in the Security section the Authenticator App line switches to On.
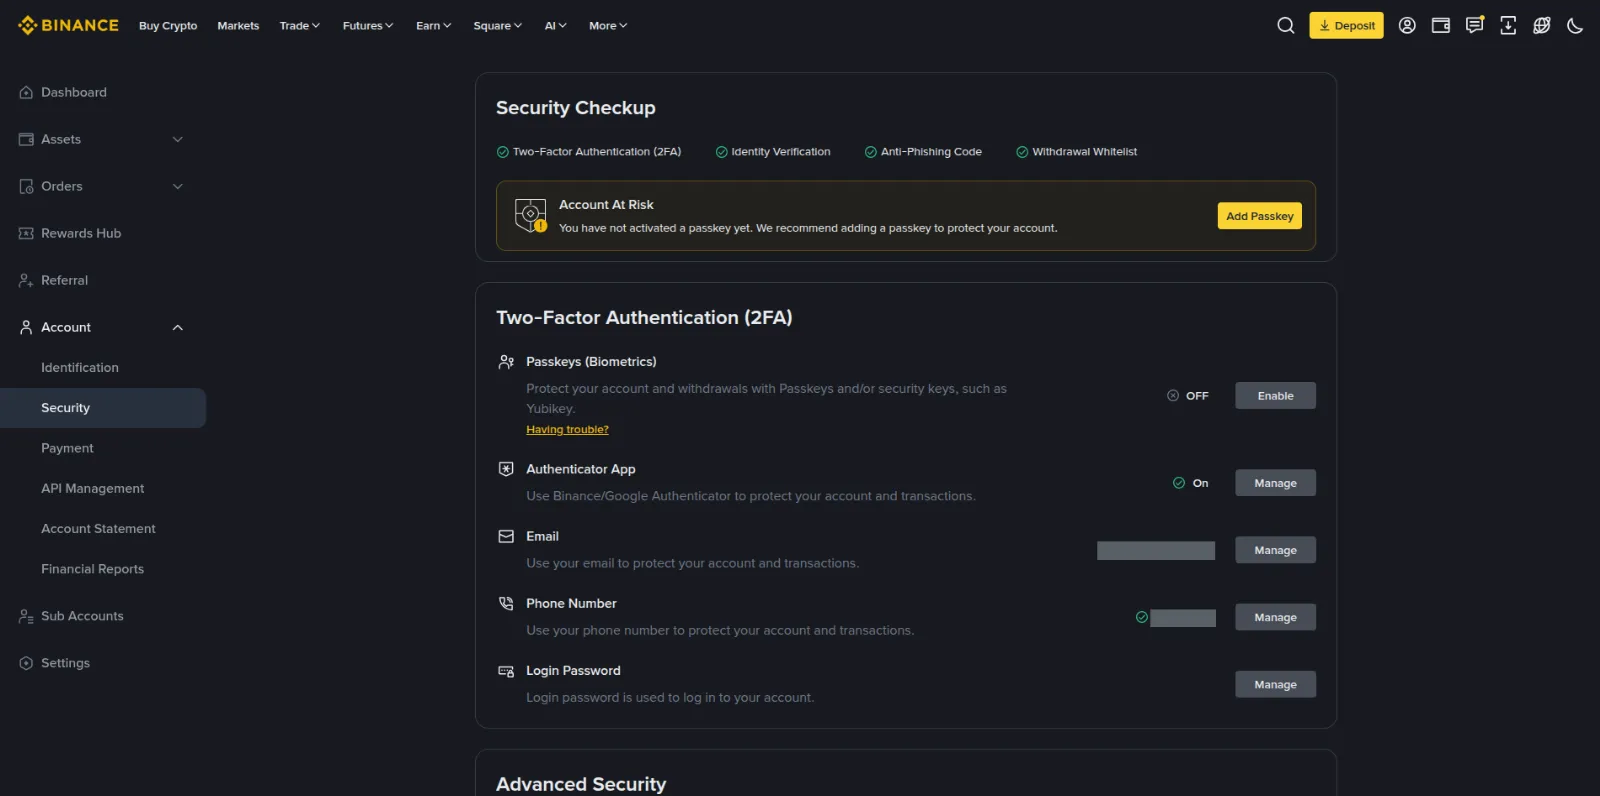
From now on the exchange asks for the code from the app after your password. The same code is requested when withdrawing funds and when changing security settings — that is normal and means the protection is doing its job.
Test it straight away rather than later: sign out and sign back in. Better to confirm the login works now, while you are at the computer and everything is fresh, than a month from now when you urgently need to withdraw.
Binance
Opening an account takes a few minutes, and verification usually completes the same day.
Go to BinanceIf the phone is lost
What happens next depends on whether you saved the backup key.
The key is saved. Install an authenticator on the new phone, choose to add an account manually, and type the key in. The app starts producing the same codes the old one did. Nothing needs to be unlinked or set up again.
There is no key. That leaves recovery through the exchange's support. You will confirm your identity with documents, and withdrawals stay blocked while the check runs — usually several days. You will get the account back, but not quickly.
The phone was stolen. Beyond restoring access, change your password and review the login history in the Security section. If the authenticator was on the stolen device and it had no lock code, unlink it and set it up again on the new phone.
One more thing about the phone itself: an authenticator protects the exchange account, but it lives behind a lock screen. A phone with no passcode turns the second factor into a formality — whoever picks it up opens the app and reads the codes.
Common mistakes
Leaving SMS as the main method. The number gets taken by a SIM swap, and every code goes with it. An app is not tied to the number.
Not saving the backup key. The most expensive mistake in this chapter. While the phone is fine it costs nothing and so goes unnoticed — the bill arrives on the day the phone does not.
Saving the key as a screenshot on the phone. The gallery goes to the cloud, the cloud opens with the email, the email opens with the password you were protecting with a second factor. The circle closes.
Putting off the login test. Set it up, never checked it, and you find out at the worst possible moment. Sign out and back in right now.
Changing phones without moving the authenticator. These apps do not always travel with the rest of your data. Before wiping the old device, make sure the codes are being generated on the new one.
What comes next
Two-factor closes the door to your account, but not the question of how you might be tricked before you reach that door. The next chapter of the guide covers the anti-phishing code and the withdrawal whitelist: the first shows that an email really came from the exchange, the second keeps money from leaving for someone else's wallet even if the password does leak after all.
This page contains affiliate links: if you sign up through them, the site earns a commission. It costs you nothing extra.